
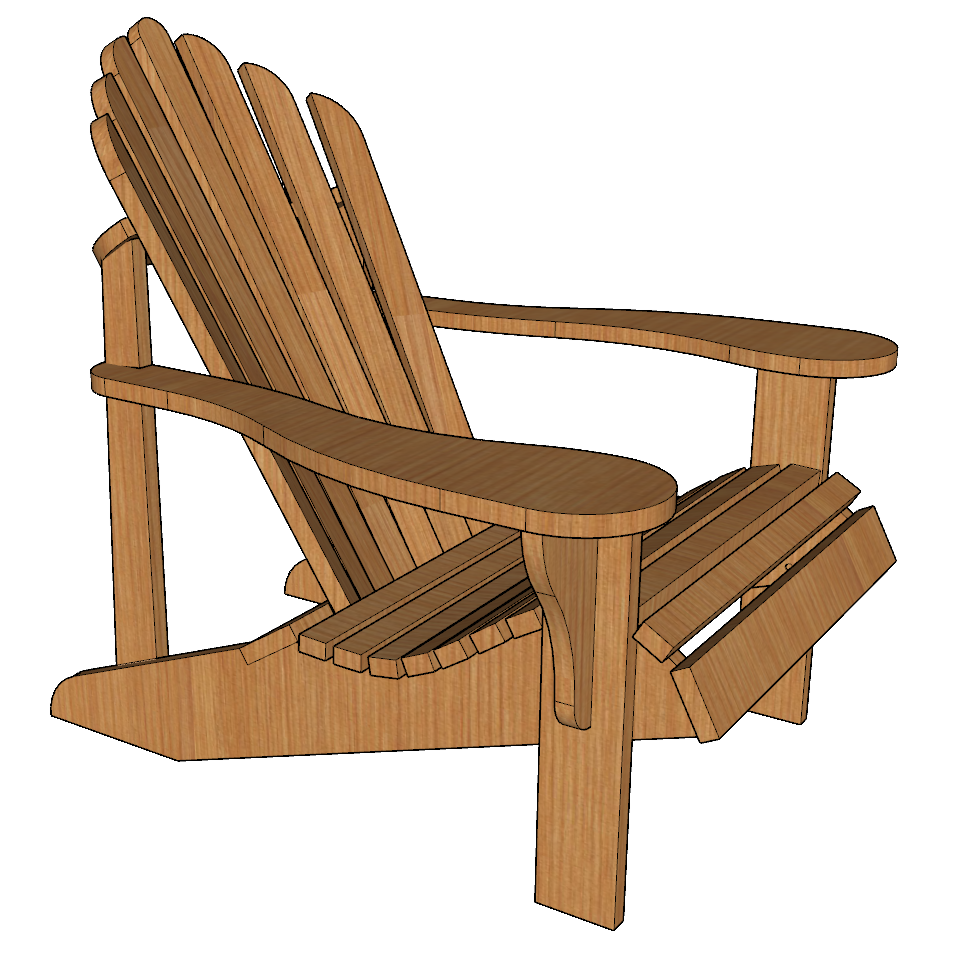


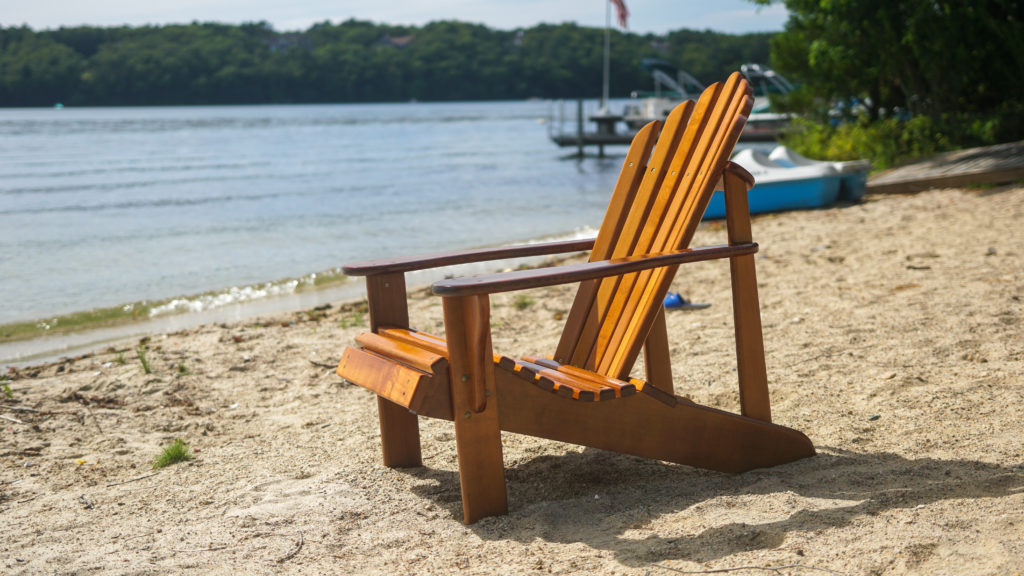
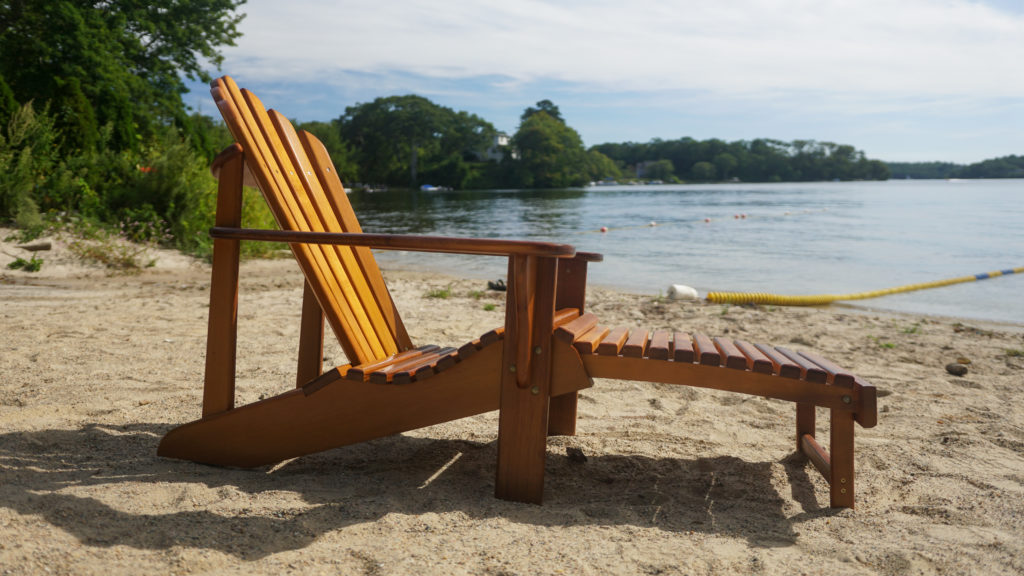
Description
The most comfortable Adirondack chair you will ever find! This is a special design with a curved back and curved seat that makes it hard to believe you’re sitting in a wooden chair. And even with these super comfortable curves, the chair still makes efficient use of materials. For my chairs I use 5/4 CVG (clear vertical grain) western red cedar which always creates a beautiful finished product that is rock solid because I’m able to get a 1″ finished thickness on the material. The chair is fastened together with 2″ stainless steel screws and 2.5″ carriage bolts. It takes roughly 30′ total of 5/4×8 material for a single chair, but if you’re really on your game and making a number of chairs you can get that down to 25′ per chair. Final dimensions of the chair are 2’11” tall, 2’10” wide, and 3’2″ deep.
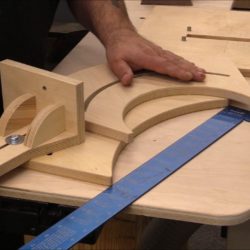
MakerBITz Templates include everything you need to make one, or batch out as many as you’d like. They are made from 1/4″ premium Baltic Birch plywood – And are precision CNC milled. Use it as a pencil template or use as a router guide, it’s all up to your creativity.
An instruction PDF is put together and included with every template set. It will give you the instructions you need to make these amazing chairs as easily as possible.
CUSTOMER SUPPORT: “hello @ makerbitz . com” (without the spaces) to contact us about your order. Paul is a super nice guy and you should say “hi” to him any chance you get – But not because of your order from MakerBITz. He can’t help you. But we can!
FAQs
I’m having a hard time finding CVG grade western red cedar, where do I find it? It obviously depends on where you’re located, but I’ve found the best source around DC by far to be Hicksville Planing Mill in Clear Springs, MD and then Vienna Hardwoods in VA. While I was in New England, my source was Downes & Reader Hardwood in Stoughton. It just takes some calling around to find the right place, especially when looking for clear grade cedar. Start first by googling “hardwood dealers” near you and you’ll find a lot of them will have it, but if they don’t they will know who does (the lumber world is a small world).
The CVG grade western red cedar that you use is really expensive, do you recommend any alternatives? The clear grade cedar has gotten stupid expensive here recently. I’d recommend looking into STK grade western red cedar (select tight knot). The CVG definitely visually looks the best, but with STK you can just position the pattern to cut around all of the worst knots. Besides cedar, cypress, white oak, and even pine is fairly weather resistant (just seal up the end grain on the legs really well)
You recommend 1″ for the final thickness of the material, can I get away with using only 3/4″ thick boards? Making the chairs from 1″ nominal (3/4” thick) stock is definitely doable and will probably hold up fine but I much prefer the true 1″ thick material for a robust chair that will last forever. 3/4″ won’t be as strong but should be fine if you can avoid any really bad knots in the material that you choose. I’ve made some with rough sawn 4/4 that I could plane down and get ~7/8″ out of and those were still good but I personally wouldn’t go thinner than that. Some slight modifications will need to be made in the design to accommodate thinner material including changing the notch in the main leg so it’s only as thick as your material and moving the top back support down slightly to compensate for the difference between it and the top of the back legs where you fasten it in place.
I can only find 5/4×6, but not 5/4×8, what should I do? 5/4×6 is a common dimension for decking, so it should be easy to find in most places. The only piece that is the full 7-1/4″ width is the arms, so you can either slim down the arms (which I definitely don’t prefer) or just get a limited amount of 5/4×8 for just the arms and use 5/4×6 for everything else. If your only option is to go for 2×8 and plane it down or glue together to get a wider piece, I’d recommend planing it down because a glue joint outside (even with epoxy) is typically not good for longevity. Also, the wider boards are more efficient for layout.
How long should the boards be that I purchase? I recommend the longest boards that you are able to carry because, like the wider 7-1/4″ material, your layout will be more efficient with less waste. I typically work with 13-16′ pieces, but you can definitely build the chairs from 8′ lumber if that is what your vehicle can handle.
How much epoxy and varnish do I need to buy for a chair? For the single chair with the footrest I end up using about 1/2 of the quart kit of penetrating epoxy and almost a full quart of Halcyon, but I lay the varnish on pretty thick doing about 9 coats or so, but you could probably get away with a bit less.
For assembly step 8 you show the back sub-assembly, but no dimension. How far apart should the back supports go? The dimension between the back supports is shown on page “Parts Plan 2”, the upper support should be centered on the upper screw hole in part G.
There are 2 shorter seat slats between the front legs that are missing from the parts plans, where are they? I include those with the regular seat slats (Part L) because I cut them down to final length during the assembly process since there tends to be slight variation from chair to chair and this ensures a perfect fit (also, see assembly step 12).
Reviews
There are no reviews yet.